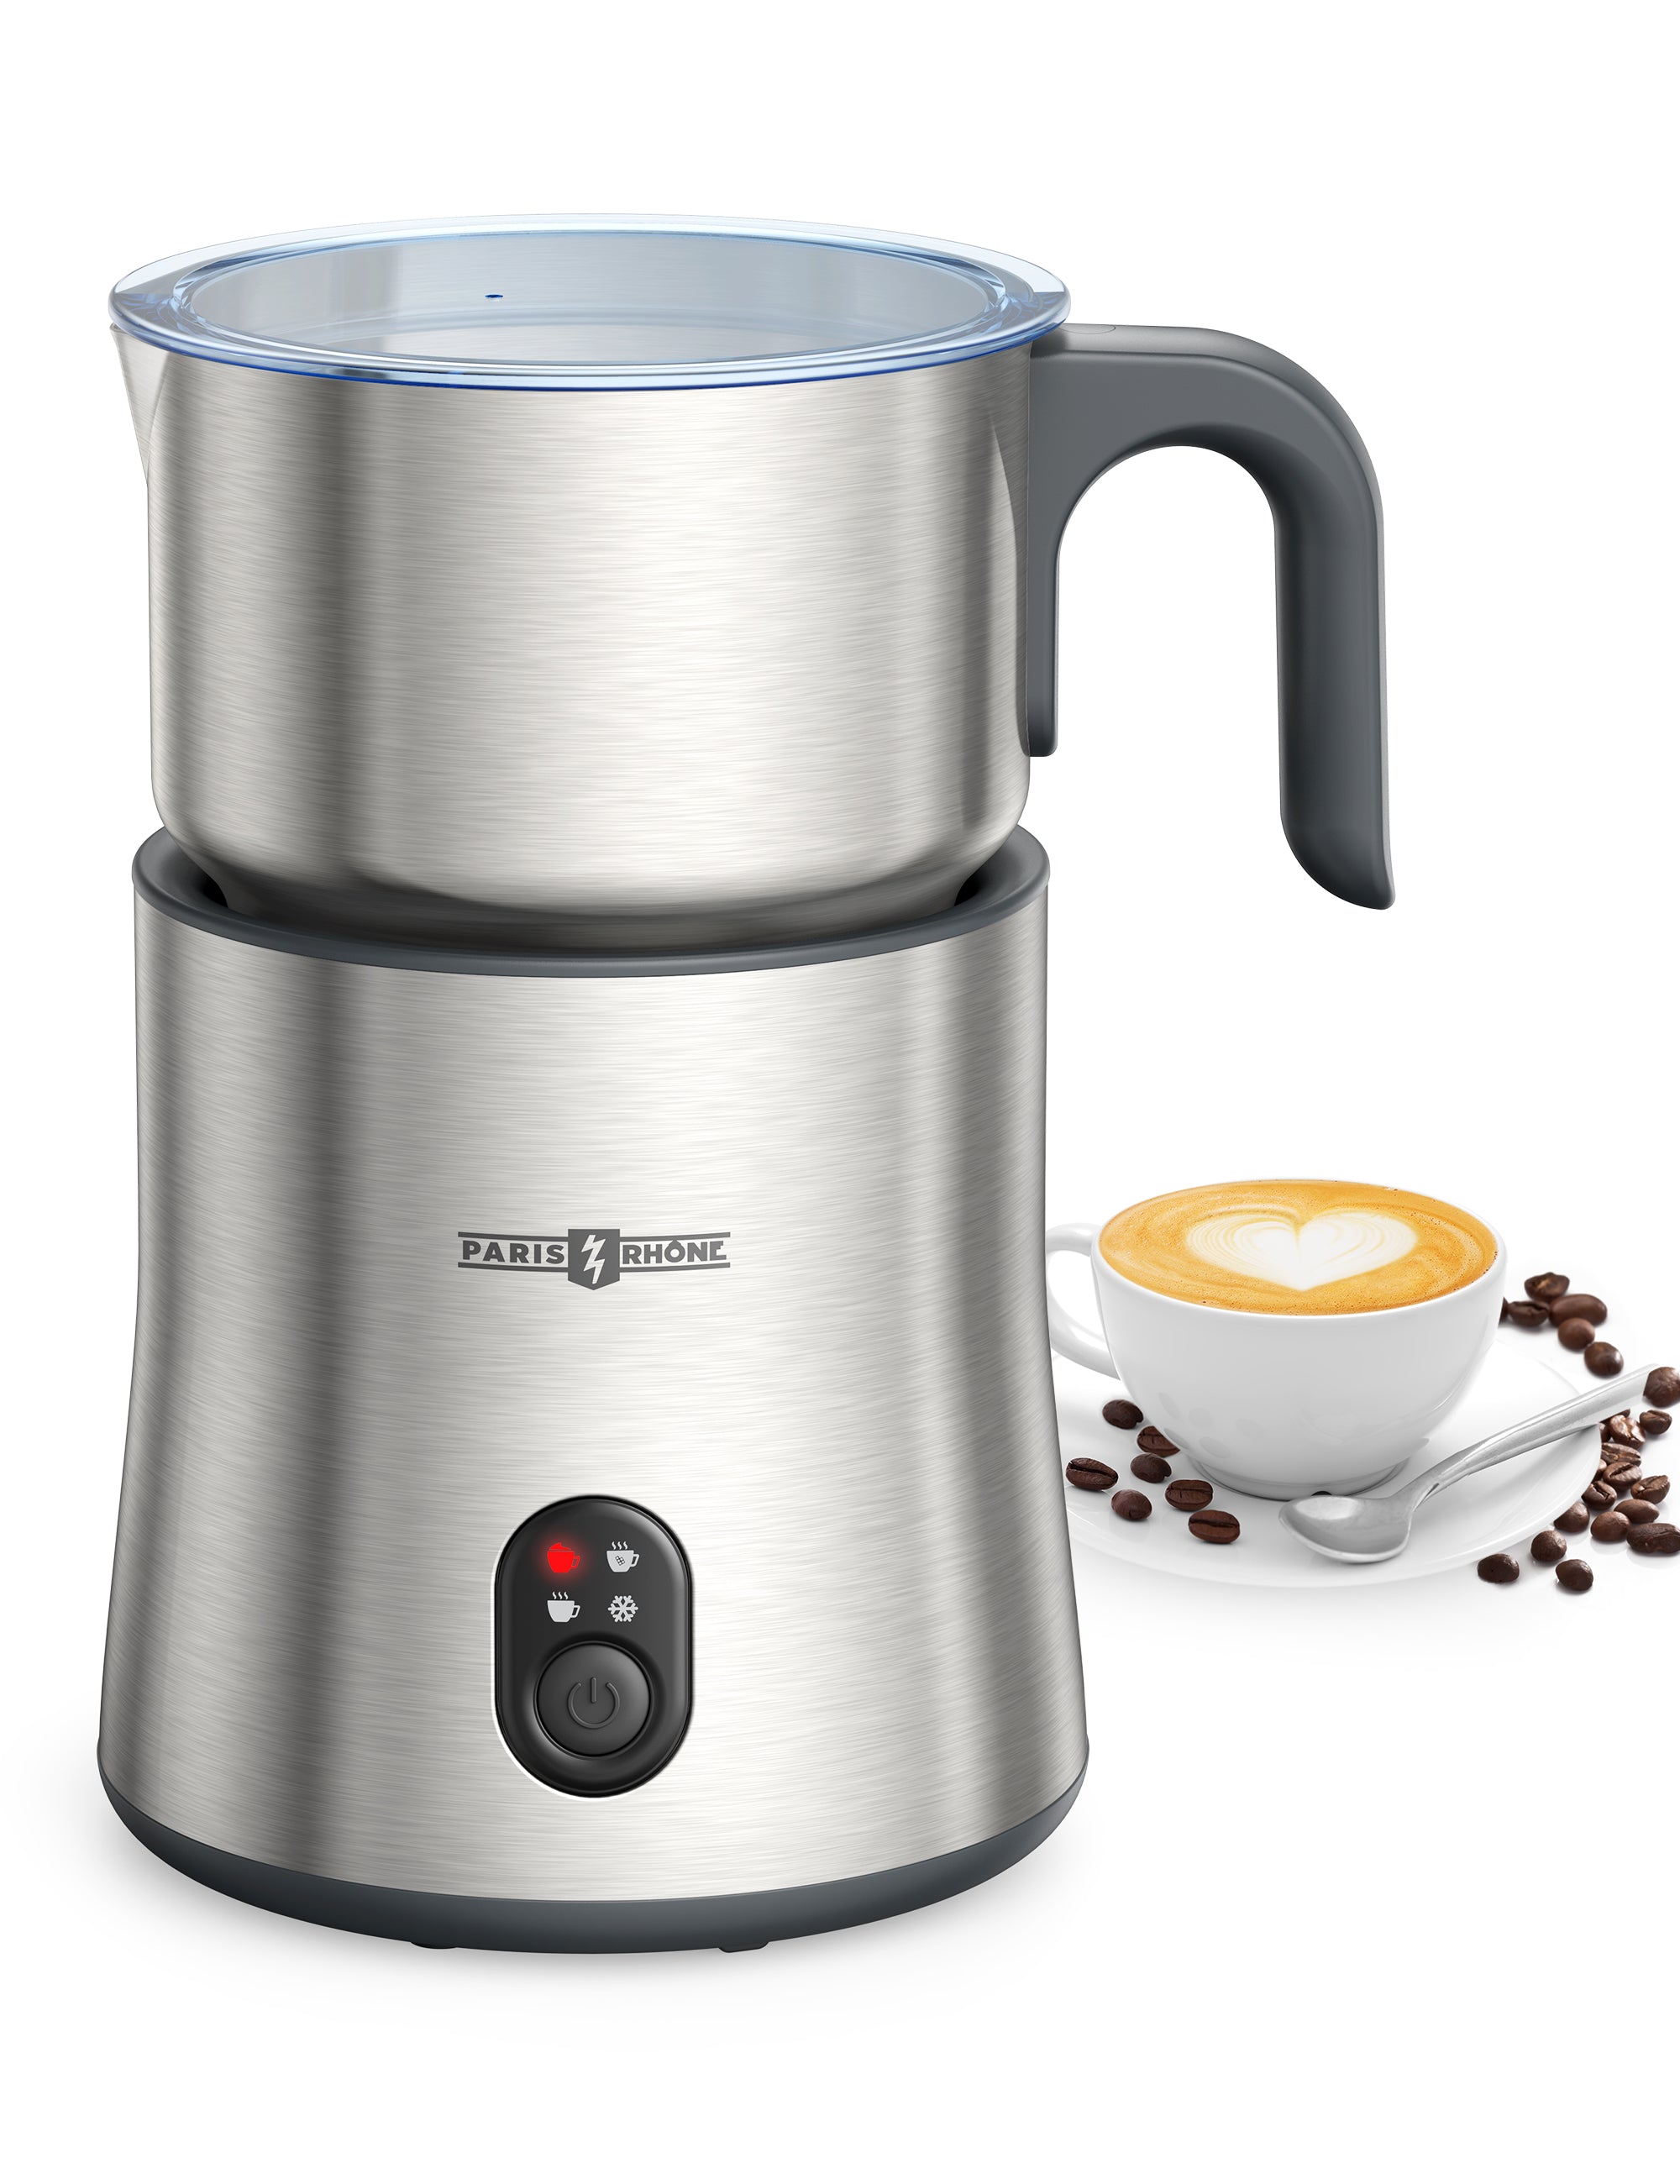
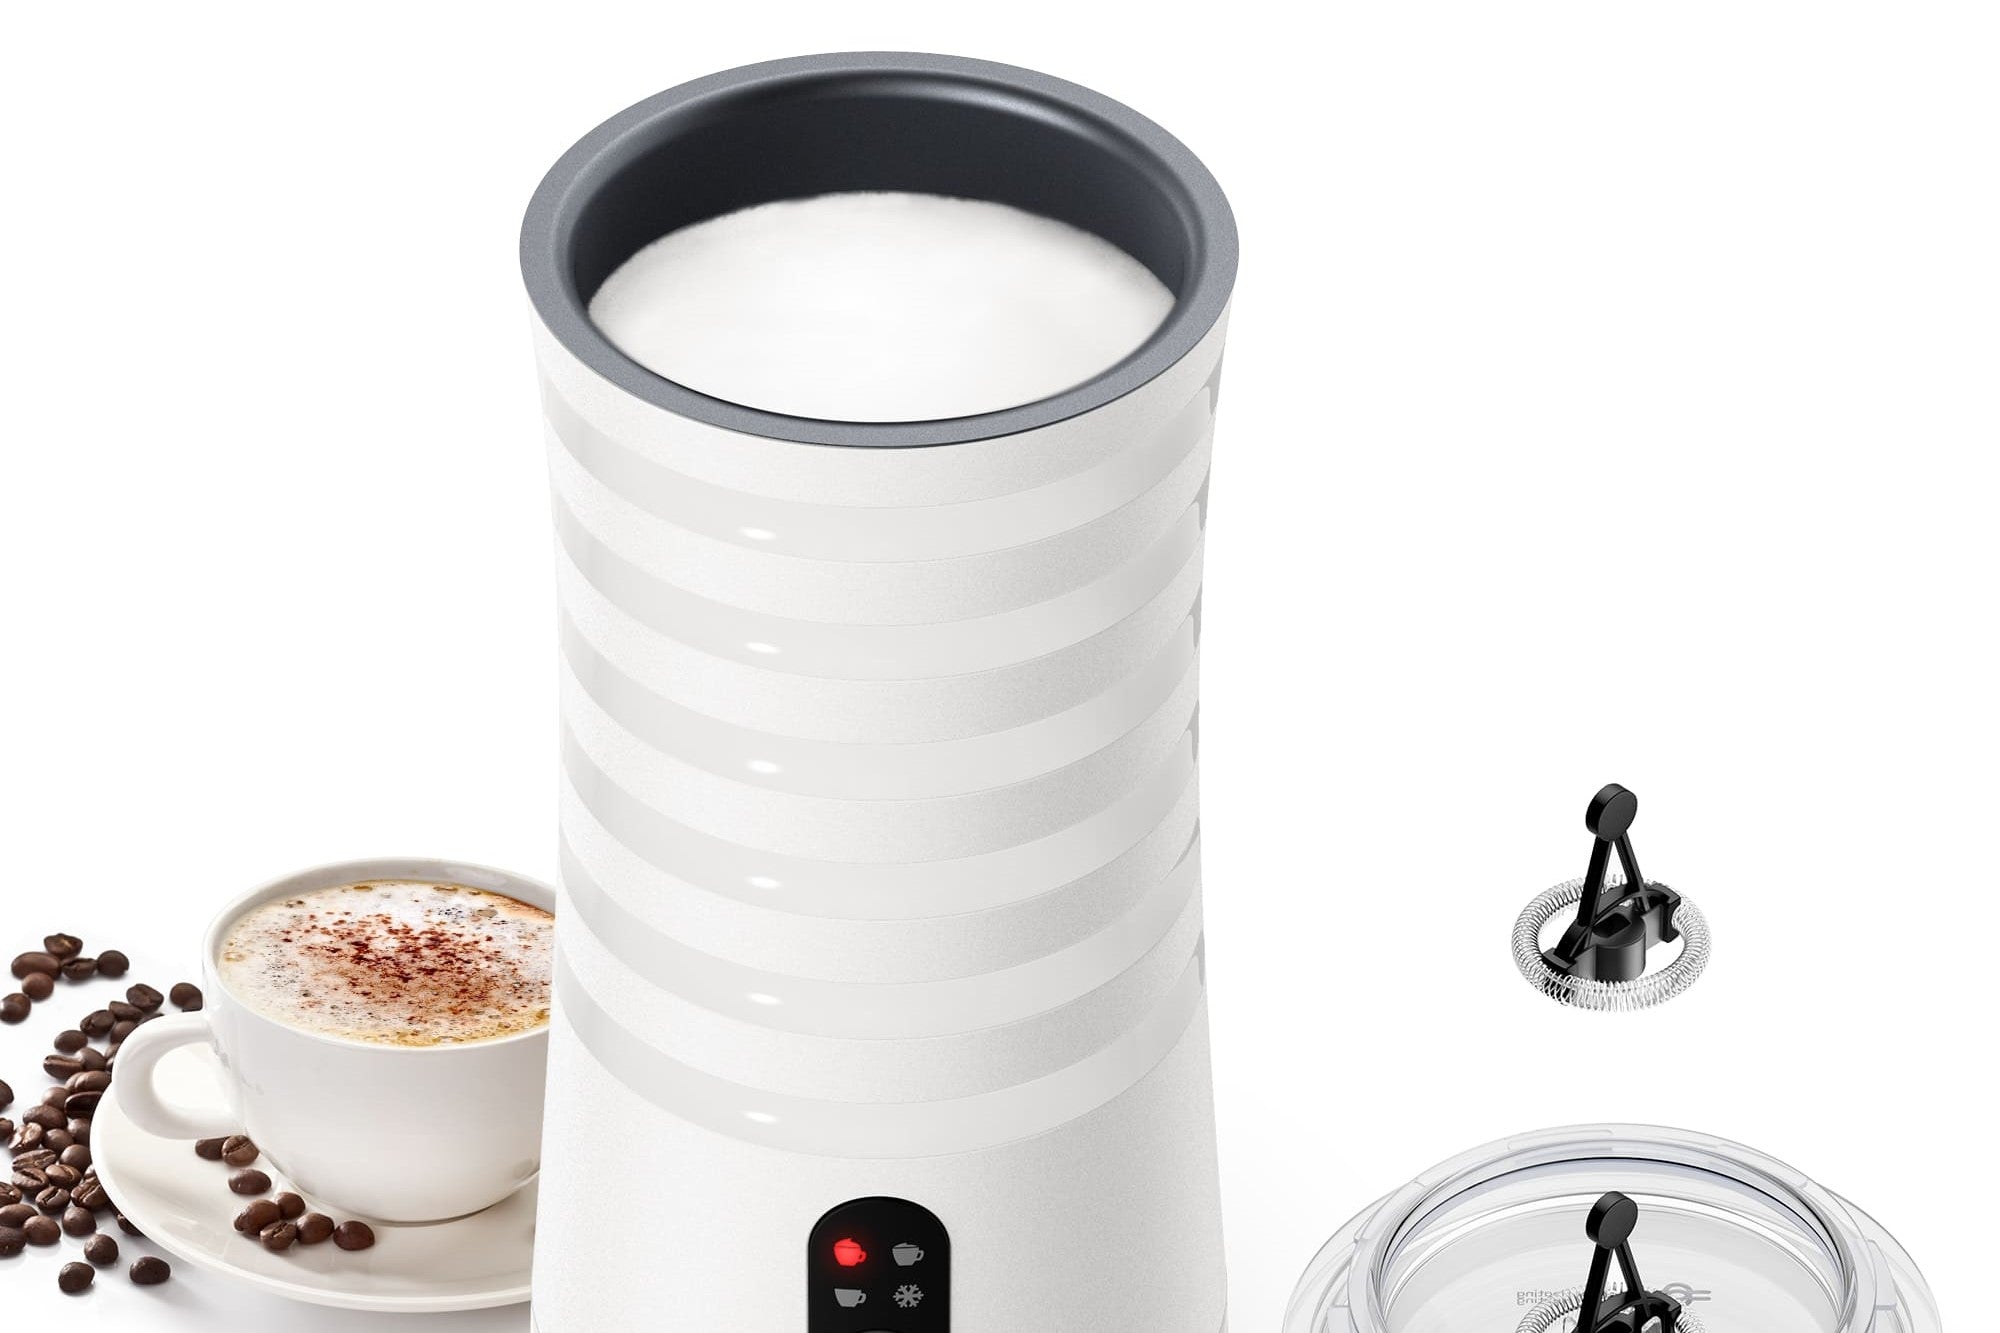
A milk frother is a miraculous addition to any coffee lover's arsenal - it can transform ordinary espresso into luxurious, foamy drinks. However, without proper cleaning and maintenance, this tool can easily fall short of your expectations. Dirty parts, mineral buildup, or worn-out seals can all lead to decreased functionality, broken parts, or, even worse, tainted drinks.
In this article, we'll explore in detail how to clean and maintain your milk frother for optimal performance and longevity. From step-by-step cleaning instructions to troubleshooting common issues, we've got you covered. So let's get started!
Cleaning Your Milk Frother
A clean milk frother is a happy milk frother - the key to creamy, consistent, frothed milk. But stuck-on milk residue can turn even the simplest frother into a fitness challenge. Fear not! With these tips, you'll have your whisking wonder sparkling in no time.
For manual frothers, disassemble all parts and wash them by hand. Soak the whisk and shaft in hot soapy water to loosen the caked-on milk. Rinse thoroughly and air dry.
For electric models, run the frother through 2-3 cleaning cycles on the hottest setting with warm water and a few drops of dish soap. This whips up soapy foam to scrub nooks and crannies.
Deep clean connectors, gaskets, and seals with a toothbrush or cotton swab dipped in vinegar to banish smells and remove stains. Just be gentle with any rubber parts.
For stubborn stains inside electric pitchers, fill them with equal parts water and white vinegar and run on the hottest setting. The agitation and acidity of the vinegar work wonders for cutting through residue. Just be sure to rinse well!
Finally, dry all parts with a soft towel and reassemble. Lubricate rubber seals and gaskets with a thin film of food-grade silicone.
With a hop and a skip and a little elbow grease, even the grimiest-looking frother can be transformed into a sparkling champion of creamy microfoam once more. Keeping it clean might not be the most glamorous part of milk frothing, but a few minutes of TLC goes a long way towards perfectly frothed milk - and that's worth getting your hands dirty for!
Maintenance Tips for Maximizing Frother's Lifespan

With regular TLC, your trusty milk foamer can churn out creamy microfoam for years to come. A few minutes of maintenance between frothing sessions can make a big difference in its long-term health.
First up: descale that frother! Over time, mineral buildup from hard water can corrode components. Run 1 part white vinegar to 3 parts water through your frother on the hottest setting to break down the scale and flush the system. Do this monthly for automatic models and every 2-3 months for manual frothers.
Next, lubricate moving parts and seals. Use only food-grade silicone spray on rubber seals and gaskets to keep them flexible and prevent tearing. A small spritz every few months will keep components sliding smoothly.
Periodic deep cleans that involve disassembling parts can also extend your frother's lifespan. Handwash components, checking for wear and tear. Dislodge stubborn milk residue with a cotton swab dipped in white vinegar. Once dry, reassemble your frother with silicone lubricant on any seals.
Finally, be gentle with your frother. Avoid overfilling steam wand pitchers, and try not to force components. Take breaks if your arm gets tired cranking a manual frother!
Troubleshooting Common Issues
Even the sturdiest milk steamer can hit a few sour notes from time to time. But with some simple strategies, you can get your troubled whisk back in harmonious form in no time flat.
Common issues include clogged whisks and shafts, which can be easily resolved by soaking them in hot water with dish soap or white vinegar to break down residue. However, if there are stubborn water stains on the frother, try using pure or filtered water when making coffee and cleaning the frother to prevent further build-up.
Another common issue is insufficiently smooth froth, often caused by refrigerated milk. To fix this, let the milk come to room temperature before frothing it to achieve finer foam.
If you're experiencing leaking gaskets or seals, gently stretch or reshape them or replace them with a silicone food-grade option if needed. Finally, if broken parts are at fault, check for replacement components specific to your frother model online. And remember to allow the frother to cool before use and clean regularly to avoid overheating motors.
Conclusion
In conclusion, cleaning and maintaining your milk frother is crucial for optimal performance and longevity. You can create consistently creamy and delicious frothed milk with proper care for years. From step-by-step cleaning instructions to maintenance tips and troubleshooting common issues, we've covered all the bases. Regularly descale your frother, lubricate moving parts, and be gentle to ensure it lasts as long as possible. And remember, if all else fails, replacement parts are often readily available online. A little TLC goes a long way toward enjoying perfectly frothed milk with every cup of coffee.


